

I mixed orange, brown, and red clays to make the orange pie filling color on the right. Orange, brown, red, and lots of white were the clay colors that were mixed for the crust color on the left.
Pumpkin pie is one of my favorite desserts. I will share a recipe for how to make one, but there is a catch. This recipe only makes pie slices, the slices are really tiny, and they are not edible. Make that three catches. This is a recipe for miniature polymer clay pumpkin pie slices.
I started by mixing two clay colors: a pie filling color and a crust color. To make the pie filling, I used mostly orange, some light brown, and a little bit of red. I used those same colors to make the crust. But I used almost equal amounts of orange and brown and an even smaller amount of red. I also added lots of white clay to the crust mixture.
Taking the orange pie filling clay, I molded it into a triangular shape. Then I took the crust clay and rolled it out thinly. I put the orange triangle on top of the flattened clay and lightly pressed it to secure it in place. With an X-Acto knife, I cut away any clay that the orange triangle was not directly touching, making sure to leave some extra length at the top of the triangle.

After pinching the pie filling clay into a triangle, I set it on top of the flattened crust clay. I cut around the triangle and made sure to leave some extra length at the top for later crust sculpting.
That extra length of clay was then bent backward to create the crust that rimmed the top of the pie. I indented the rim with a toothpick by pressing alternatingly against the crust, creating a zigzag pattern.

By simply bending the extra length of crust clay backward, the crust rim was made and ready for the addition of details.
The top of the pie filling was largely smooth, so I did not add a lot of additional texture to it. On the sides of the pie, I dotted and scraped the clay to create an uneven surface where the slice would have been cut. I also dragged down some of the pie filling onto the crust in order to mimic the movement of pie filling that takes place when a pie is sliced.

A toothpick is a handy sculpting tool that can create an array of details and textures in polymer clay.
To make whipped cream, I molded a small piece of white clay into a shape similar to that of a chocolate chip and placed it on top of the pie. Starting at the bottom, I pressed a toothpick into the clay, carving deep lines. I worked this pattern up in a circular direction until the top of the dollop was reached.
After the pie slice was sculpted into shape, I baked the slice in the oven to set the clay.

Yes, this polymer clay pie recipe really did call for baking it in the oven. The whipped cream did not even melt.
The pumpkin pie could have been called complete once it was taken out of the oven, but I added some acrylic paint. The difference was subtle, but it increased the realism. After thinning some warm brown paint with water, I browned the very top of the pie filling. The darkened top mimicked a color effect seen on real baked pumpkin pies. I also slightly extended this color onto the bottom of the rim of crust that lined the top of the pie. This made it appear as if the pie filling had been poured into the crust and settled, leaving behind a stain where the filling sat prior to baking. I also took a lighter brown paint color and used that to brown the crust. This, again, further implied that the pie had been baked.
Finally, I sealed the pie with a clear satin glaze, which gave it a shiny finish. Bon appétit!
Applying thin layers of brown paint created a baked appearance. A satin glaze made the pumpkin pie slices shine.
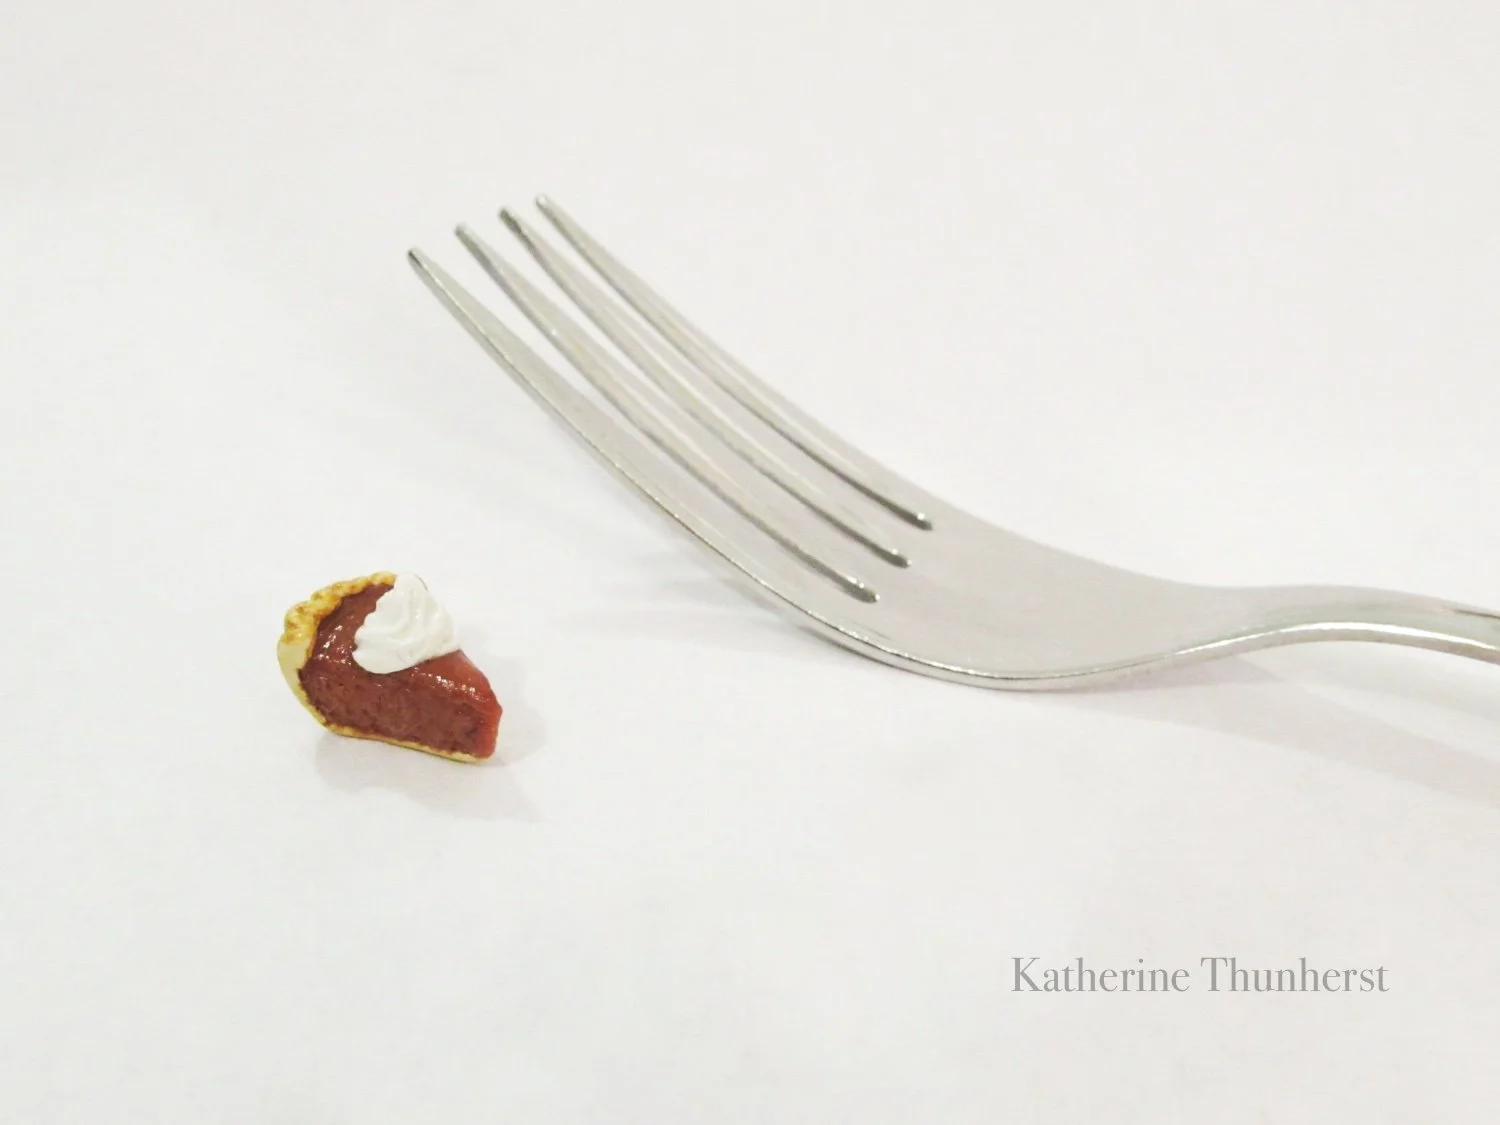
This really is a tiny slice of pumpkin pie!
Supplies used to sculpt these miniature pumpkin pie slices included Sculpey III polymer clay, Liquitex Basics acrylic paint, and Sculpey Satin Glaze. To actually sculpt the clay, I used an X-Acto knife and, fittingly, a toothpick.